setup brother printer

Setup.brother.com

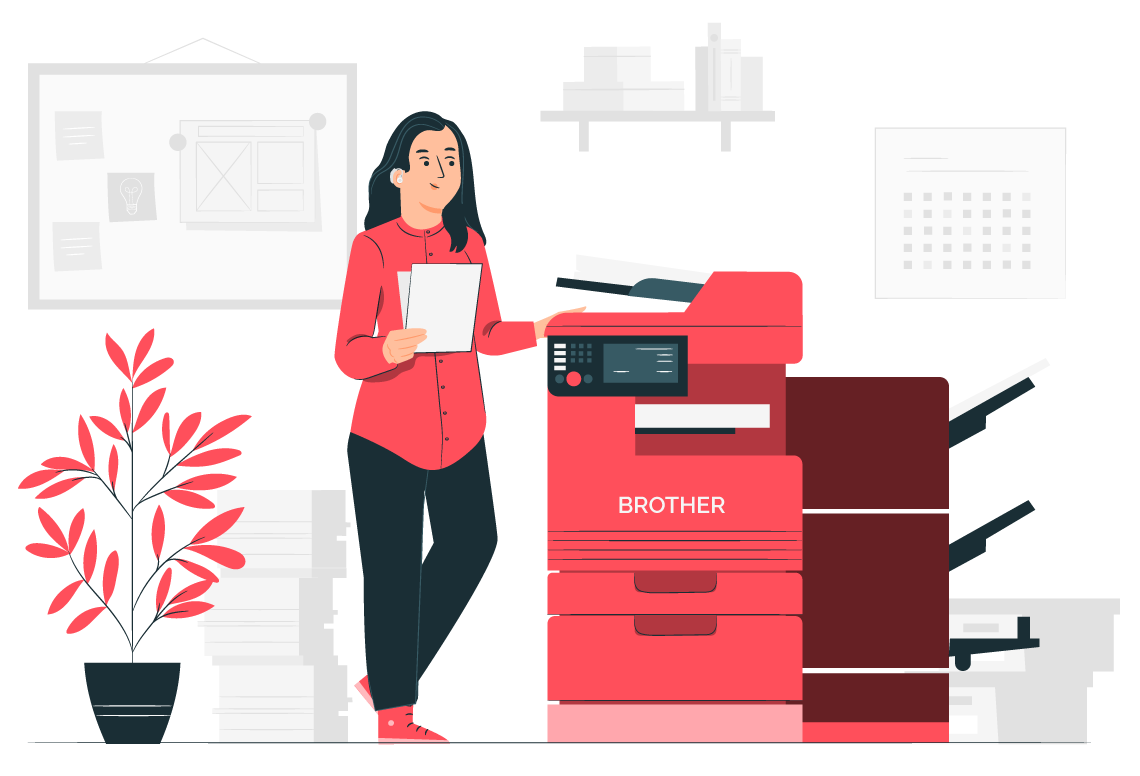
Here is everything to know about setting up Brother Printers. Install your new model and start printing your documents. For more, visit setup.brother.com.

Get Started

Setup.brother.com - Download Software for Printers and All-in-Ones

PrintersTheThe detailed explanation to connect your brother’s printer using setup.brother.com to the Wi-Fi network is listed here. Get the downloading and installation procedure in this guide for your brother’s printer driver. Also, make sure that you have a proper internet connection and that both your printer and device are connected to the same wireless network. Now, if you are in need to review system requirements or a printer driver, you need to visit setup.brother.com.

When you access setup.brother.com, you will be redirected to a webpage. On the following web page, hit the Global network option in the bottom section of the page. On the next page, you need to choose your country and language. Now you have to select the product type from the "Select Product Category" tab. For example, if you have to buy printers, tap the Printers option. And you are all set to make your purchase from Brother.

Moreover, if you have a Brother MFC-J5730DW printer and don’t know how to set it up, then stay here. Here, you will see a step-by-step process to install this Brother printer. However, most of the Brother printers share an almost similar process of installation. If you find variations in the process, you can refer to the manufacturer’s manual setup.brother.com.

Prerequisites

Before you start the installation process, make sure you have the following things.

  • A Brother printer.
  • A4 paper.
  • A computer or laptop.

How can you get the Brother printer ready for the process?

Before you dive into the installation process, you will need to get your printer ready. While preparing the printer, you will have to follow the below steps.

  • First, you have to take the printer out of the packaging. Then make the printer free from tapes and protective materials.
  • Also, look at the inside portion of the printer and remove the protective material, if any.
  • While unboxing the package, also ensure about damages of product in the transportation. Take help with the manual and make sure all parts of the printer are safe.
  • Connect the printer with the power source and turn it on.
  • Select the "Language".
  • Fill the paper tray with some paper. Pull the drawer and remove the lid and then put the paper. After placing the paper, set the lid and place the paper tray in the correct place.

Get started with the Brother printer installation process

Step-1

Install cartridges.

  • To install cartridges, you will need to open the printer from the front side and remove the protective material in orange colour.
  • Take the cartridges out safely from the packaging and position them correctly. Kindly ensure that you have clicked them perfectly if you don’t want to see an error message.
  • Now the machine starts itself ready and churns test print.
  • You can now tap OK if all dotted lines show there.
Step-2

Download the software. After connecting the printer, you will have to install software that will let you manage the printer. To download the software, you need to visit support.brother.com

  • By accessing this web address, you have to tap on "Downloads" under Search by Category.
  • Select the correct category for your printer.
  • Now you will need to choose the product’s series.
  • Here, you will have to select the OS of your computer device.
  • You have to download the "complete package of drivers & software" by allowing the agreement.
Step-3

Install the software.

  • To install the software, you have to launch the installation program.
  • Now choose the language in which you wish to use while installing.
  • Finally, go through the installation wizard.
Step-4

Select a connection method.

  • Connect to the software: You can easily connect your printer to Brother Software through Wi-Fi. On the software, you need to choose a Wi-Fi connection or Wireless connection. Go through the following direction. As your printer gets connected to the Wi-Fi network, the software also gets connected.
  • Connect using the printer: Find the Wi-Fi icon on the printer and hit the Change settings option after you have to choose the installation wizard. Choose your network’s name called SSID. Fill in the password of your Wi-Fi. In the end, you have to hit the OK button.

This way, you can install a Brother printer. Now you can start printing your required documents and files. To explore more Brother Products, you can visit setup.brother.com.

Cookie Consent

We use cookies to give you the best possible experience on our website. Cookie Policy