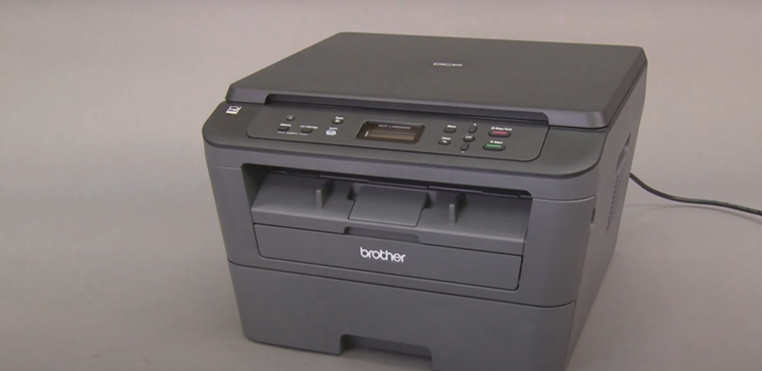
Want to Learn “How to Connect Brother Printer to Wi-Fi Without Cable“? this is a challenging task. If you Don’t Know, then follow are Instructive Guide. We have created this guide in which we have mentioned everything you need to know about connecting your Brother Printer to Wi-Fi without using a cable.
Why Do you Need to Connect your Brother Printer To Wi-Fi?
1. Helps you with wireless printing
The first and most important benefit of connecting your Brother Printer to Wi-Fi without cable is that it gives you access to wireless printing. This means you can easily print your documents from any device if only connected to the same Wi-Fi network.
2. Convenient
The next benefit of connecting your Brother Printer to Wi-Fi without cable is that it is highly convenient. This means that you do not have to carry multiple wires along with you for printing. You can print easily anywhere, whether at home or the office, without needing multiple wires or cables.
3. Easy Access
The other benefit of connecting your Brother Printer to Wi-Fi without cable is that it gives you access to printing from multiple devices, such as smartphones, tablets, and computers.
Prerequisites for Setting Up your Brother Printer
- A Brother printer that supports wireless printing.
- A stable Wi-Fi network.
- A computer, smartphone, or tablet connected to the same Wi-Fi network.
- The printer should be plugged in and powered on.
Step-by-Step Guide to Connecting your Brother Printer to Wi-Fi
Step 1: Prepare & Connect your Brother Printer
The first step to connecting your Brother Printer to a Wi-Fi connection without the cable is to prepare your Brother Printer first. To prepare your Brother Printer, you will need to make sure that it is plugged into the power button.
- You can start by searching on the Wi-Fi network on your device’s screen.
- Tap on the Menu bar of your Brother Printer.
- Select the “Network” and press “OK.”
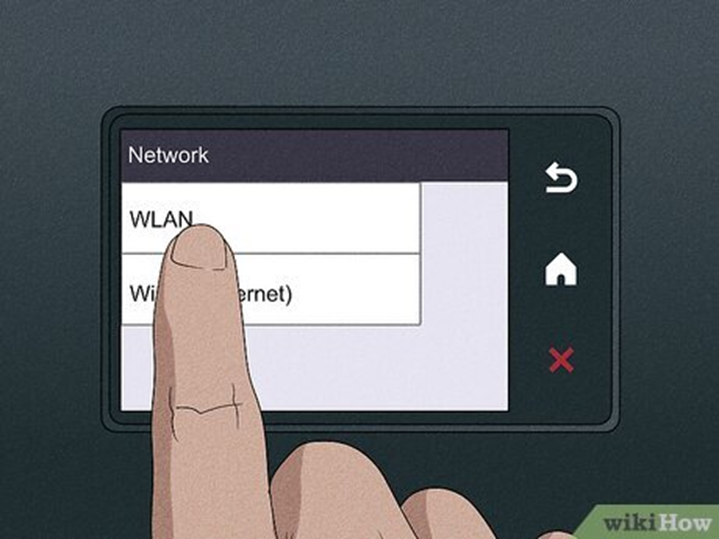
Step 2: Choose the Wireless Setup
After you successfully select the type of network in LAN settings, the next step is to choose the wireless setup. You can easily locate the wireless setup option or the WLAN option on the control panel of your Brother Printer. When you select the wireless setup option, you will be able to connect your printer without any need for messy cables or wires.

Step 3: Enter your Wi-Fi Credentials
The next step is to enter your necessary Wi-Fi credentials. This step is necessary as it will lead to completing the Brother Printer connection process. You will need to enter the network password using the on-screen keyboard. It is important to be careful when you enter the Wi-Fi password, as if any error occurs, then your Brother Printer will not be able to connect to the Wi-Fi.
Step 4: Confirm the password
The next important step is to confirm or verify the password that you have entered. Reviewing your password credentials is important, as if any error occurs, your Brother Printer will not be able to connect to the Wi-Fi.
Step 5: Test the wireless printing
The final step to connecting your Brother Printer to Wi-Fi without a cable is to test the wireless printing. Once you have performed all the above-mentioned necessary steps, it is important to test whether your wireless printing is working on your Brother Printer or not.
Pro-Tips to Avoid any Printing Issues
1. Make sure both the printer and router are placed together.
The first and most important tip to avoid any printing errors or issues is to make sure that both the printer and the router are placed together. This is important because if your Brother Printer is too far from the router, then the Wi-Fi signals may become weak. This will lead to network connectivity issues.
2. Make sure to review the Wi-Fi password carefully.
The next important tip that you must follow is to review the Wi-Fi password carefully. However, it is important for you to double-check your password, as if any error occurs, then your Brother Printer will not be able to connect to the Wi-Fi.
3. Make sure that your Printer’s firmware is updated.
The other important tip that you must follow is to look for the printer firmware updates. You can check for the firmware updates on the Brother Printer’s official website. If you find any of the system updates, then you must update the firmware as mentioned in the instructions provided on the Brother Printer’s official website.
Conclusion
From properly setting up the printer to entering your Wi-Fi credentials and finally testing the wireless printing, you can easily follow these steps, and we are sure that you can connect your Brother Printer to the Wi-Fi network without the cable in a much easier and more efficient way.
We hope that by reading this article and following all the necessary steps mentioned above, you will now be able to understand each and every aspect of connecting the Brother Printer to the Wi-Fi in a much easier way.